
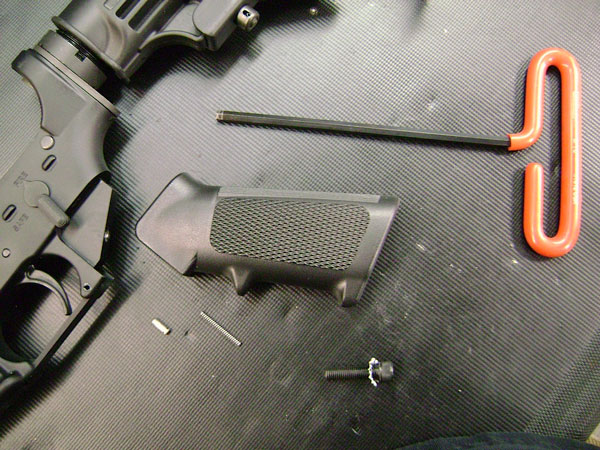
First make sure the rifle is unloaded. Then remove the lower from the upper by pushing out the takedown and pivot pins. Remove the pistol grip using a 3/16″ allen wrench. By removing the pistol grip it will allow you to make sure the trigger guard ear is able to flatly rest on the wooden block you will use to drive out the roll pin to avoid damage to the lower. When you remove the grip make sure not to lose the safety detent which is in the receiver under the safety, and the detent spring which is in a hole in the pistol grip.
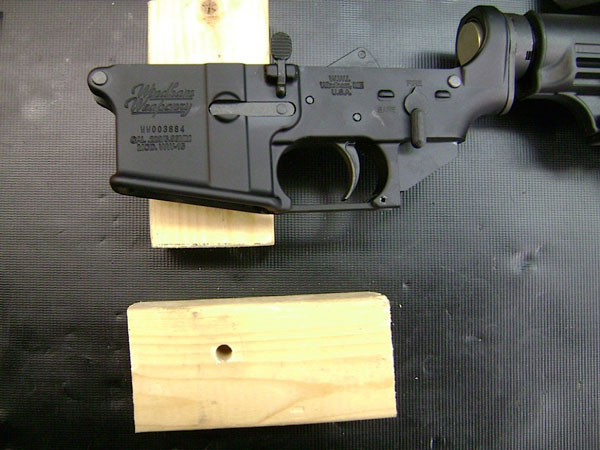
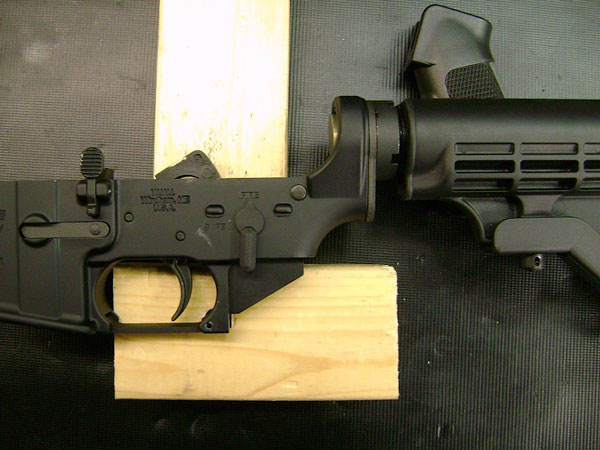
Cut two pieces of two by four and drill a hole in one.
Rest lower on the blocks of wood and support the stock area with the pistol grip as shown.
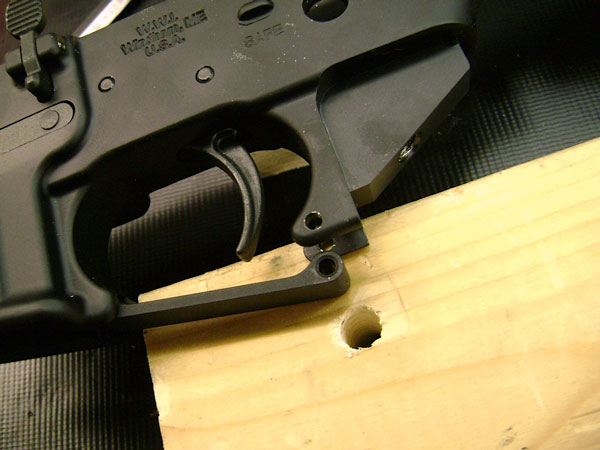
Slowly and carefully drive out the trigger guard roll pin with a 1/8″ roll pin punch into the hole in the block of wood.

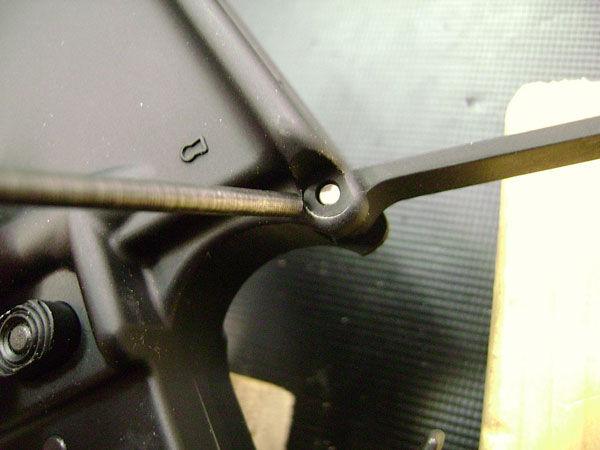
Press in the front trigger guard detent with the punch and remove the stock trigger guard.

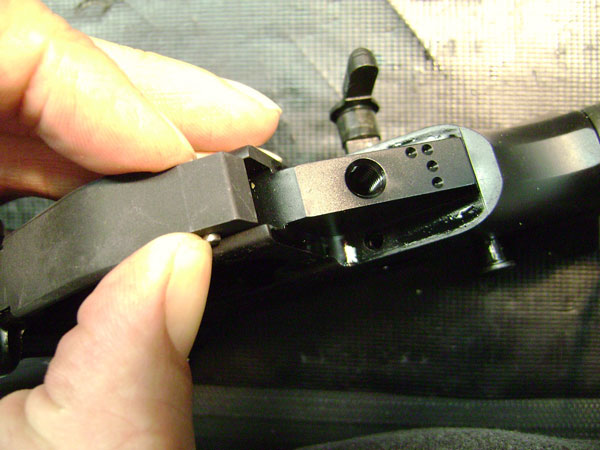
The DOA trigger guard should be orientated like this.

Press in the single detent on the front of the trigger guard and insert it into the front trigger guard ear.

Press in the two detents on the rear of the trigger guard and push them into the rear trigger guard ear until they click into the two holes.
Reinstall pistol grip being sure that the detent for the safety is back in the hole in the receiver, and the detent spring is back in the hole in the pistol grip and up against the detent.